


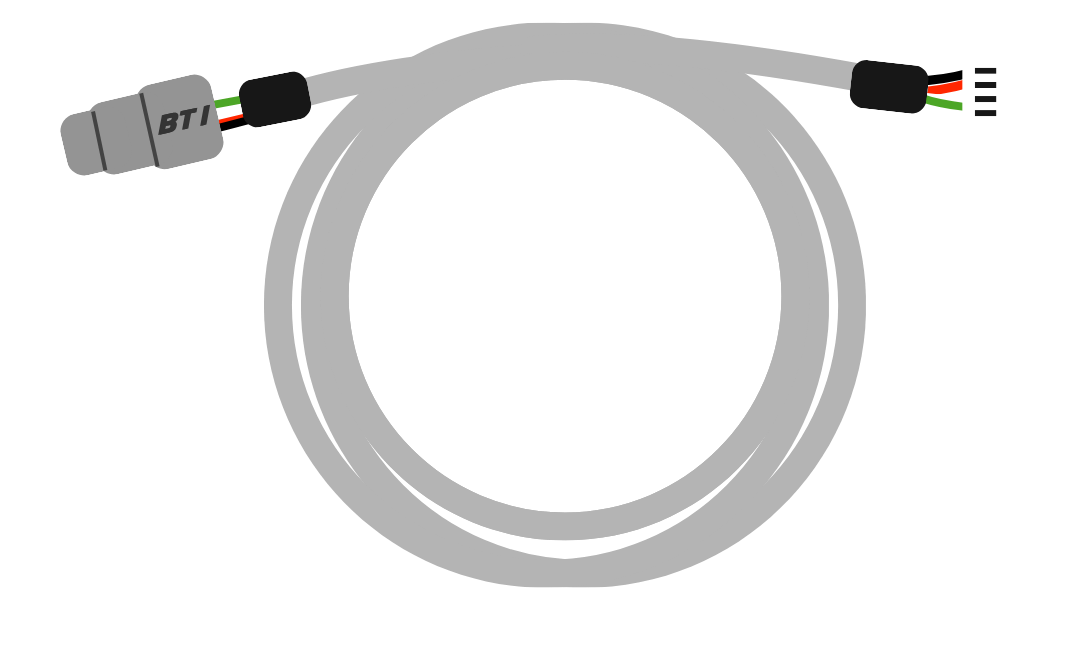
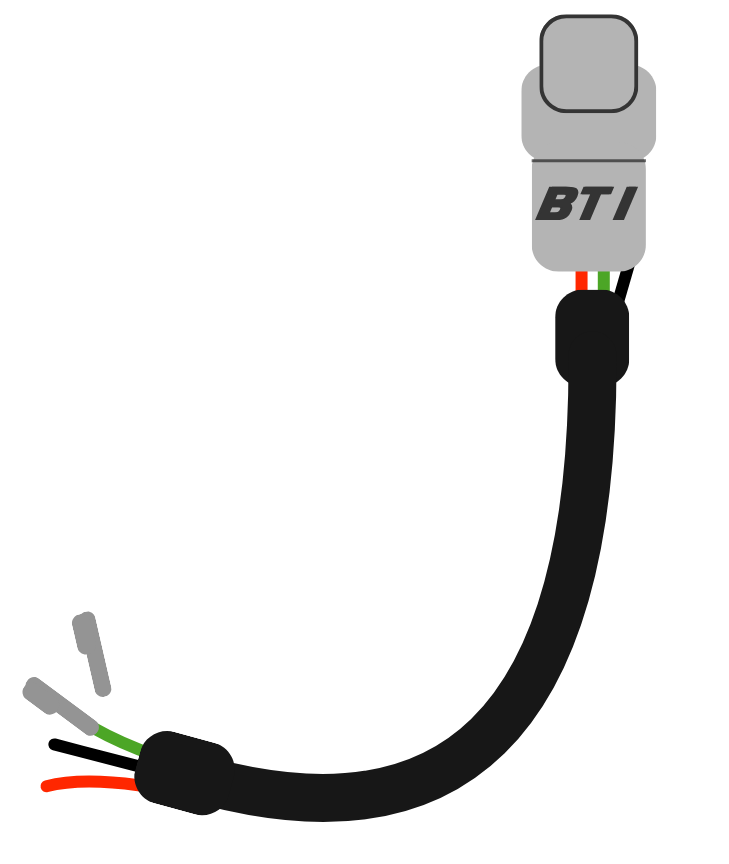
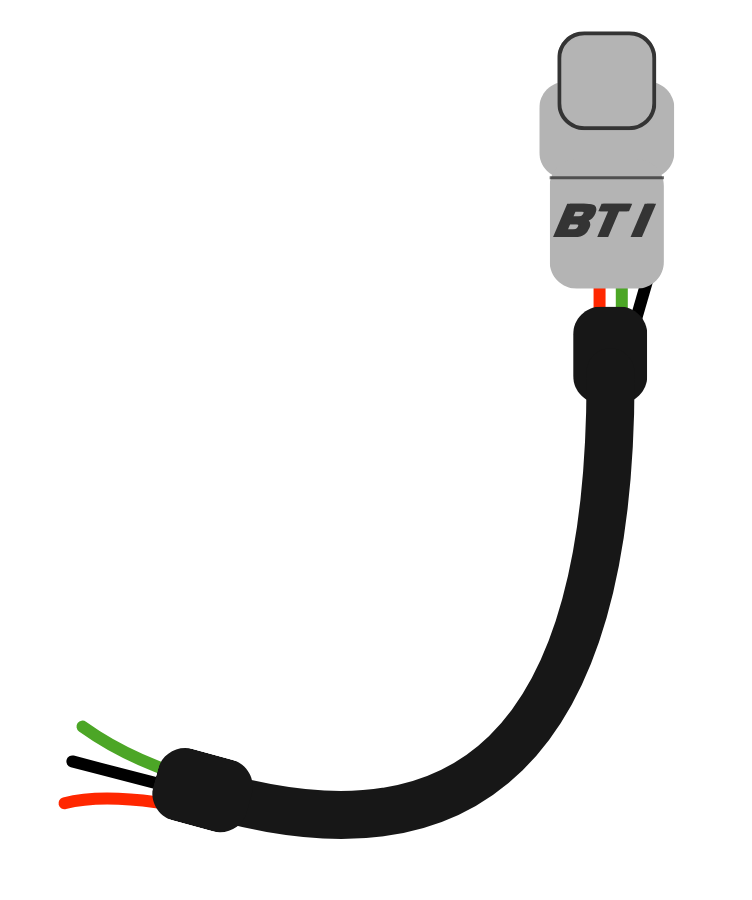
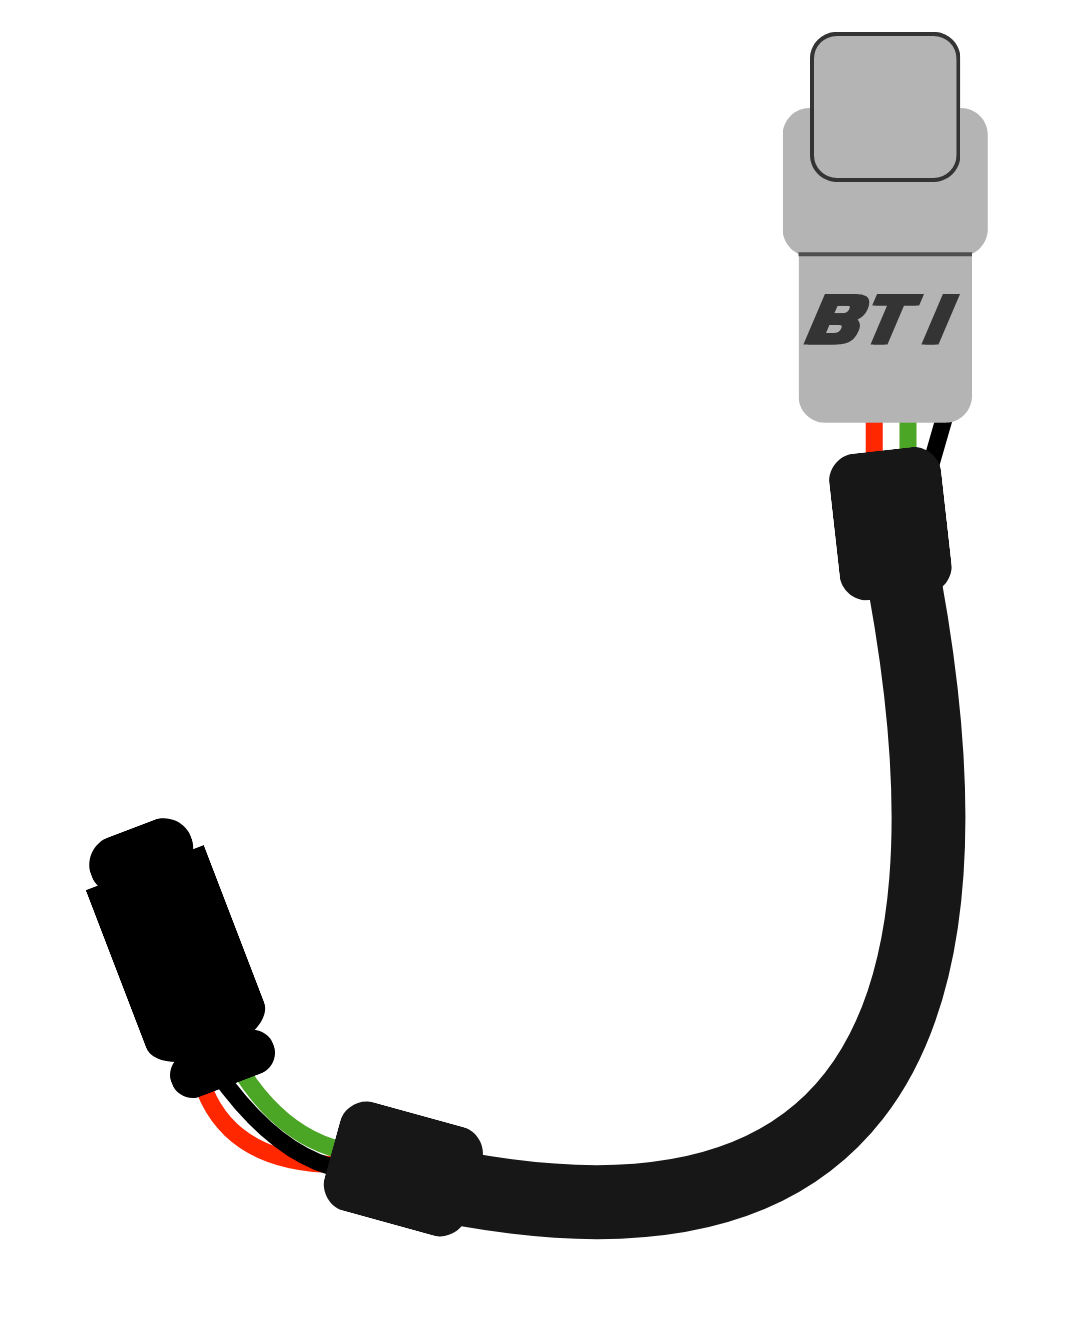
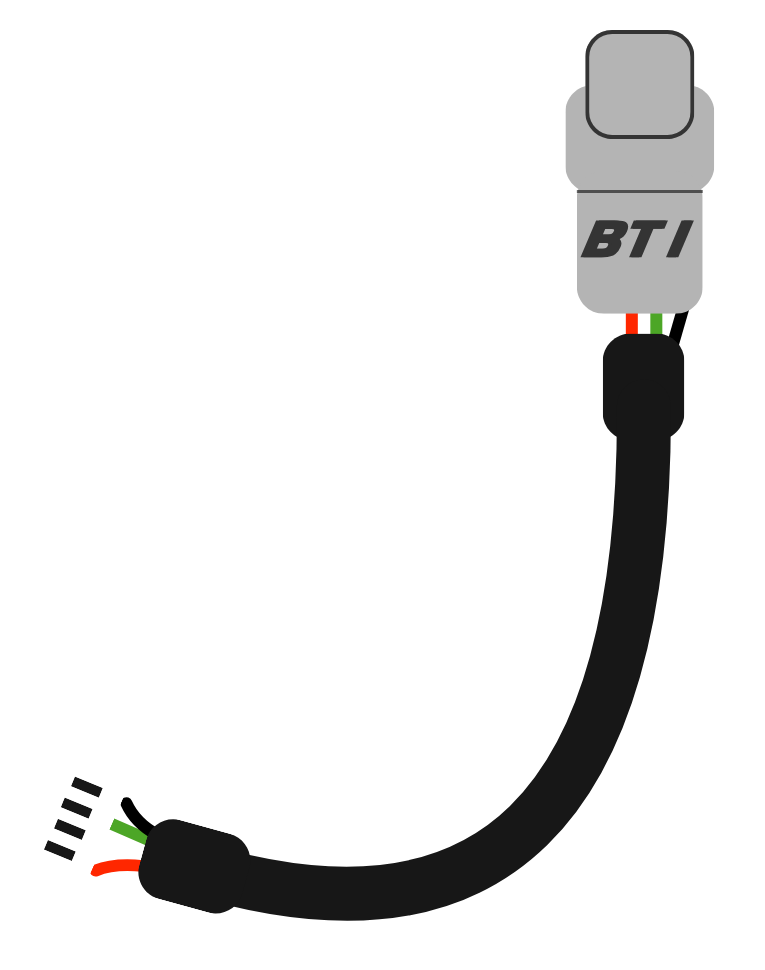
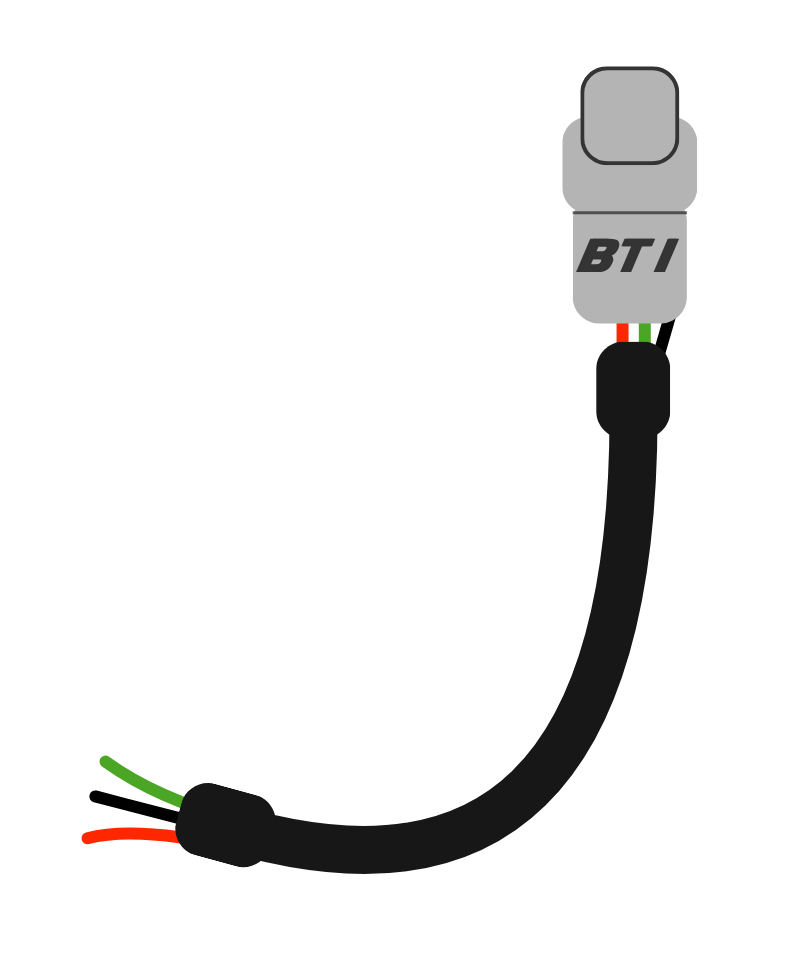
Round Gauge Harness
Standard 4 Pin
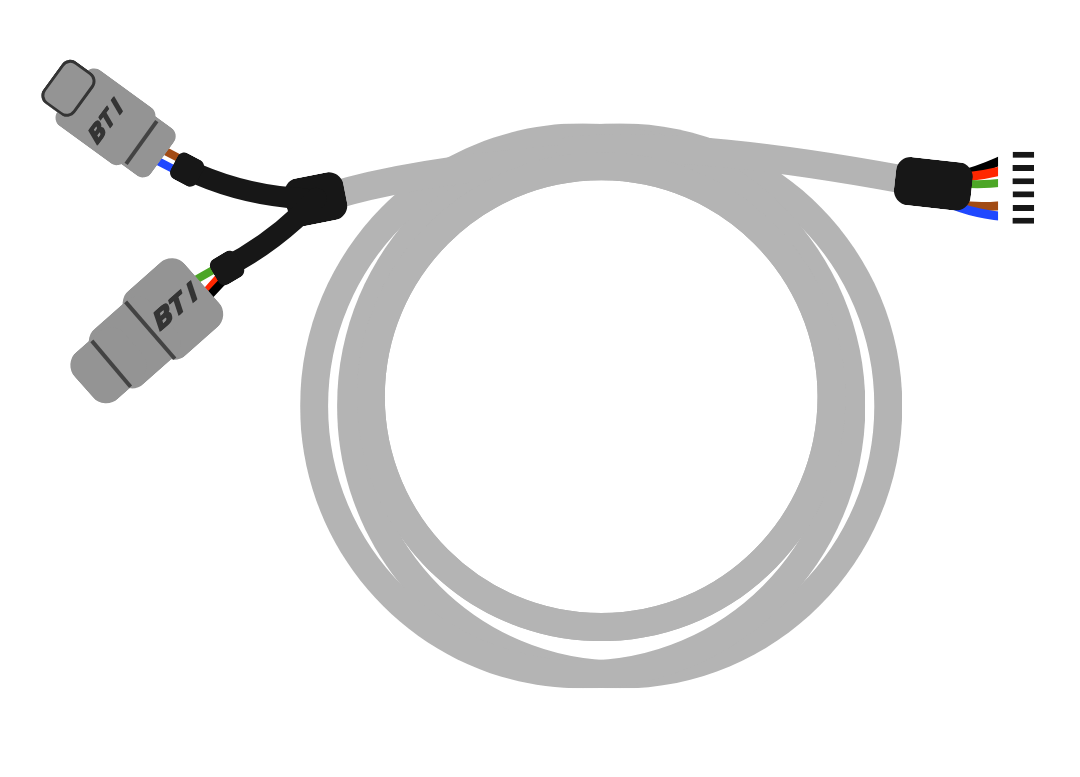
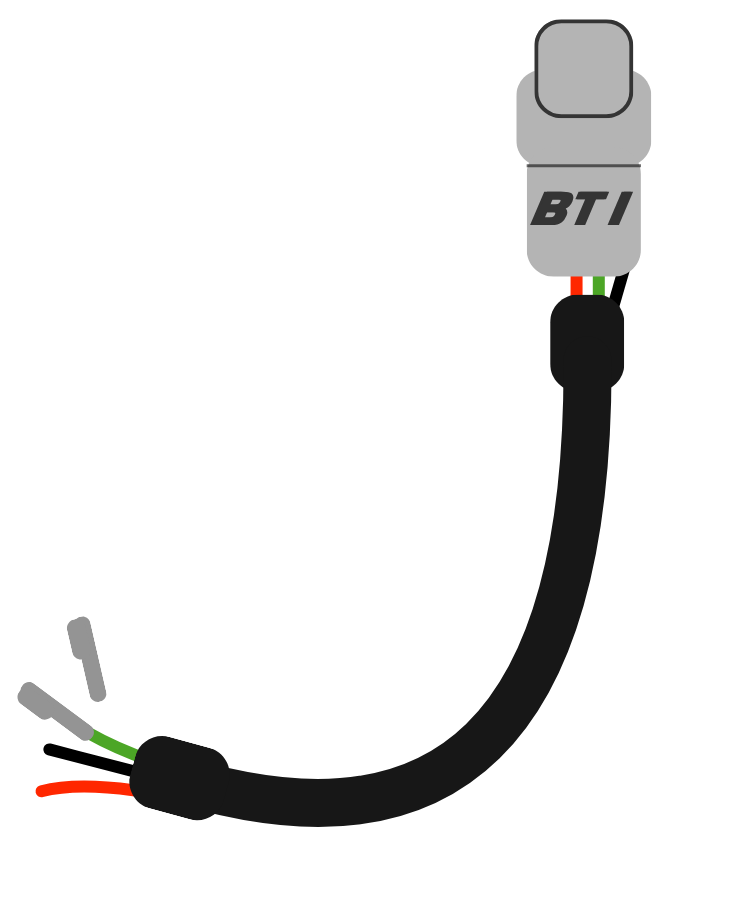
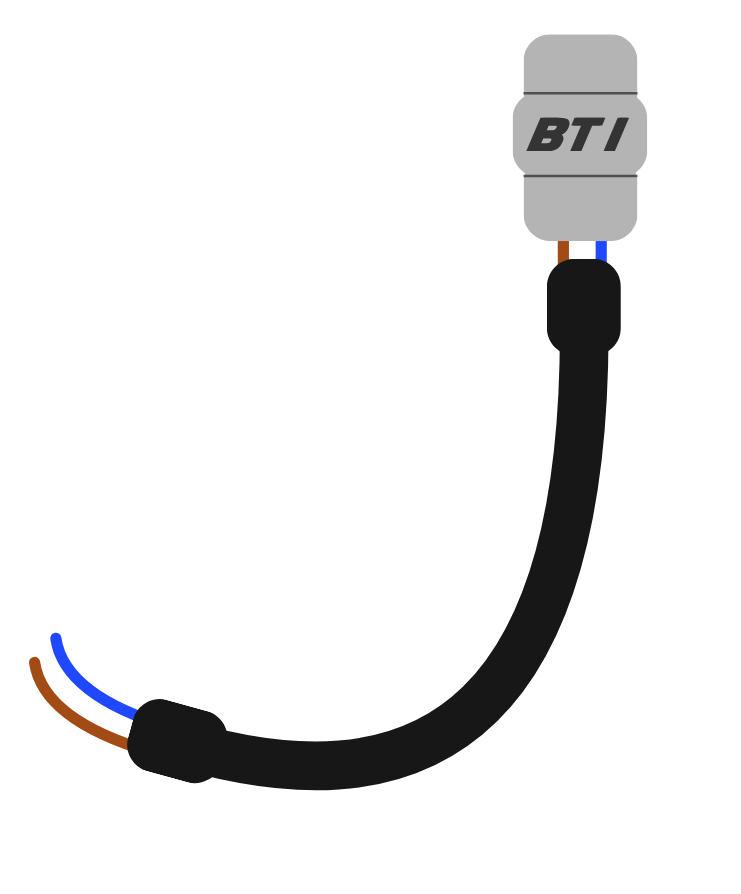
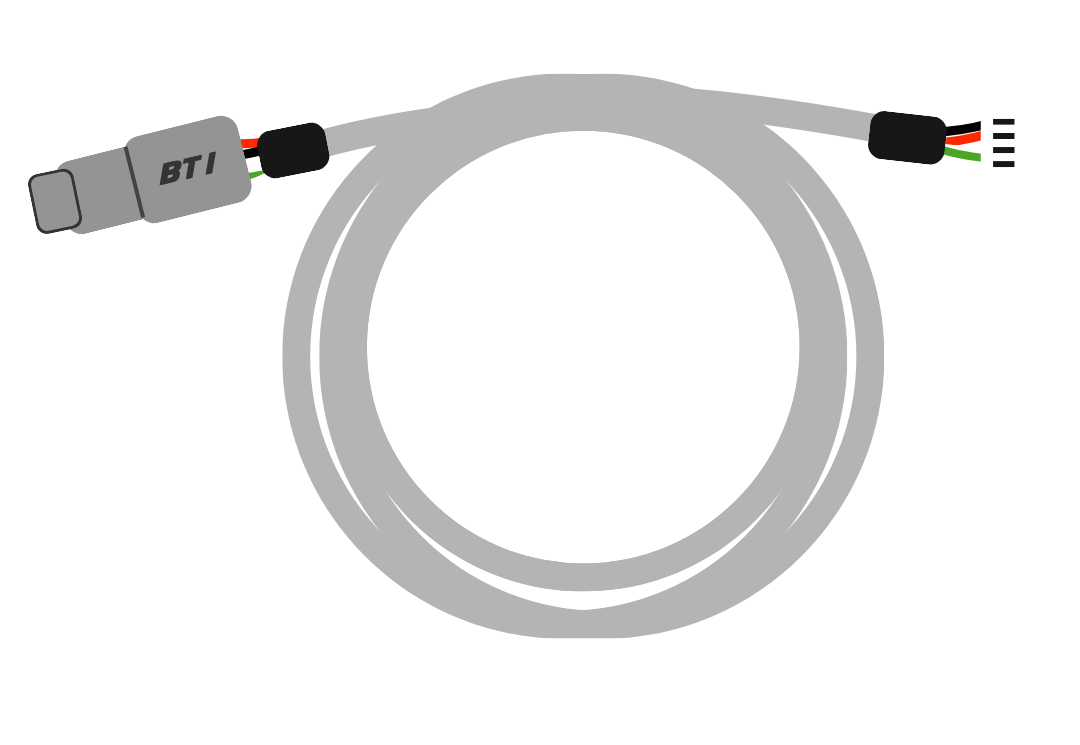
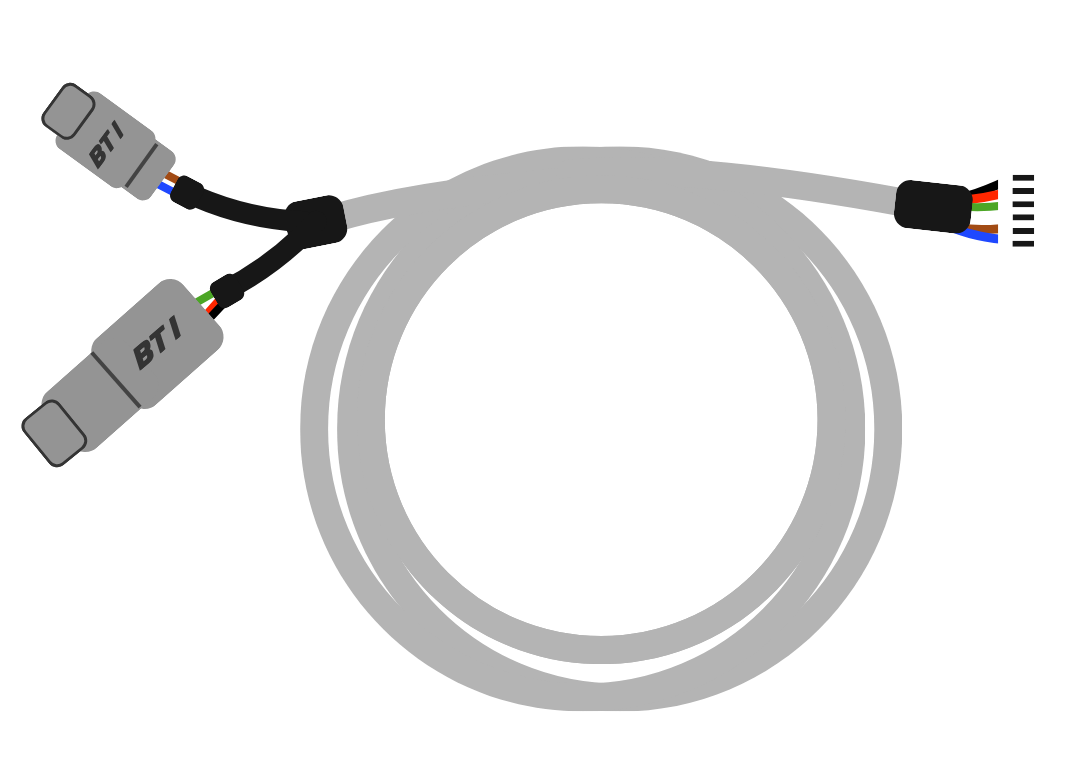
Touch Screen Harness
Standard 6 Pin
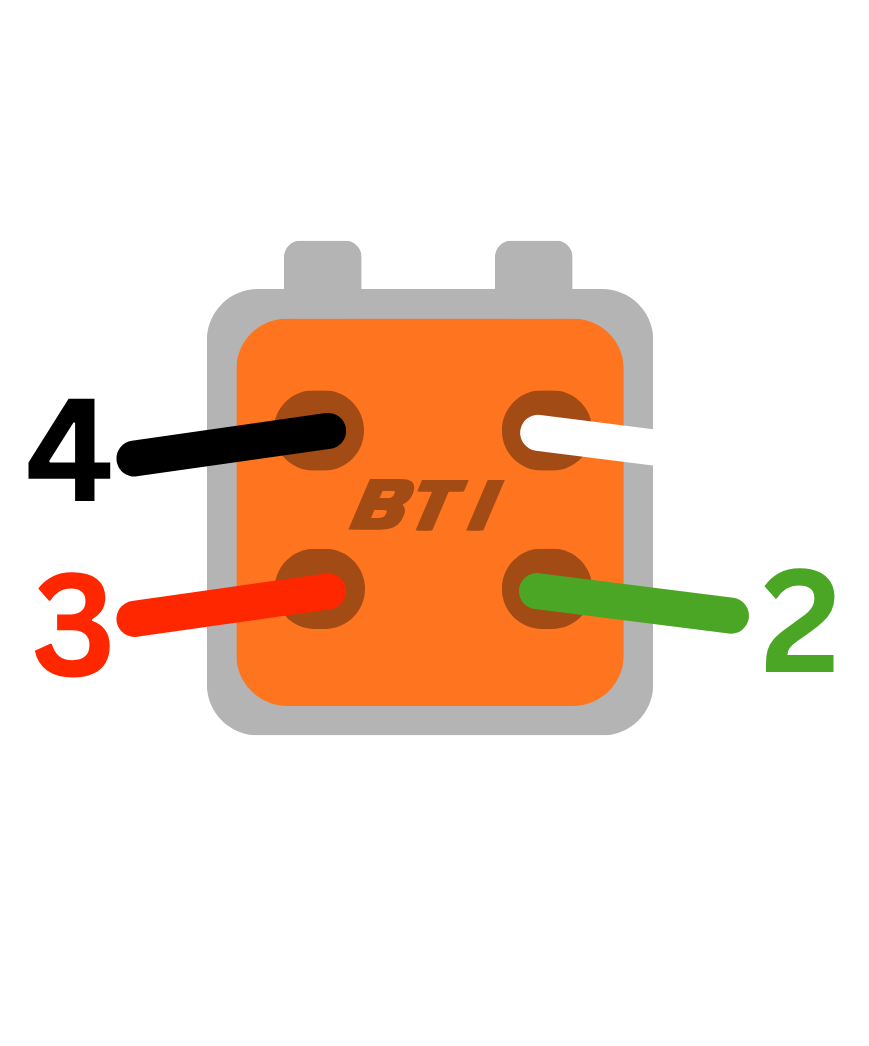
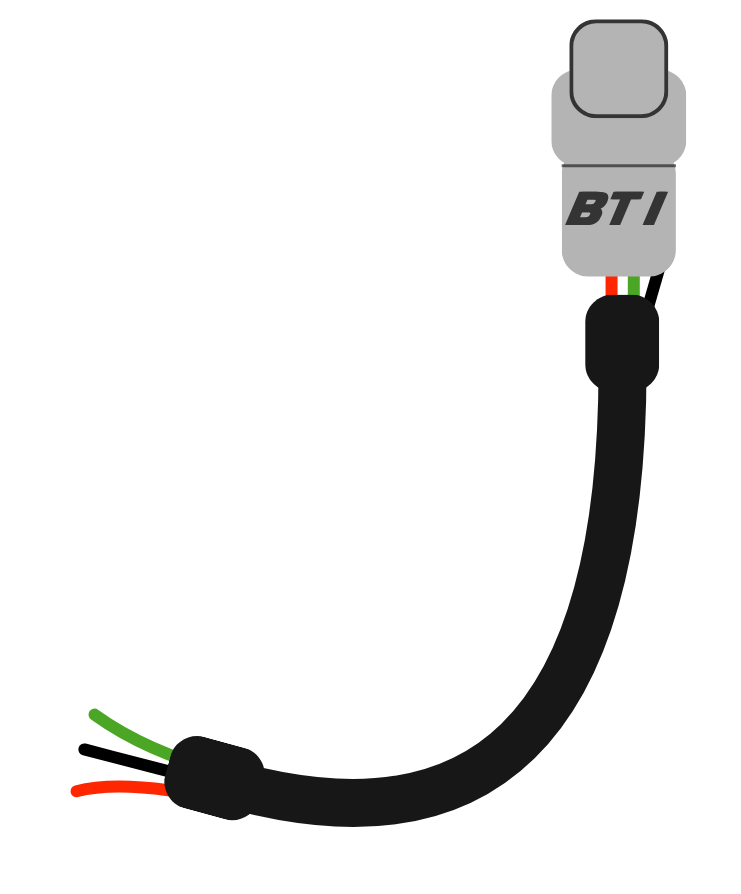
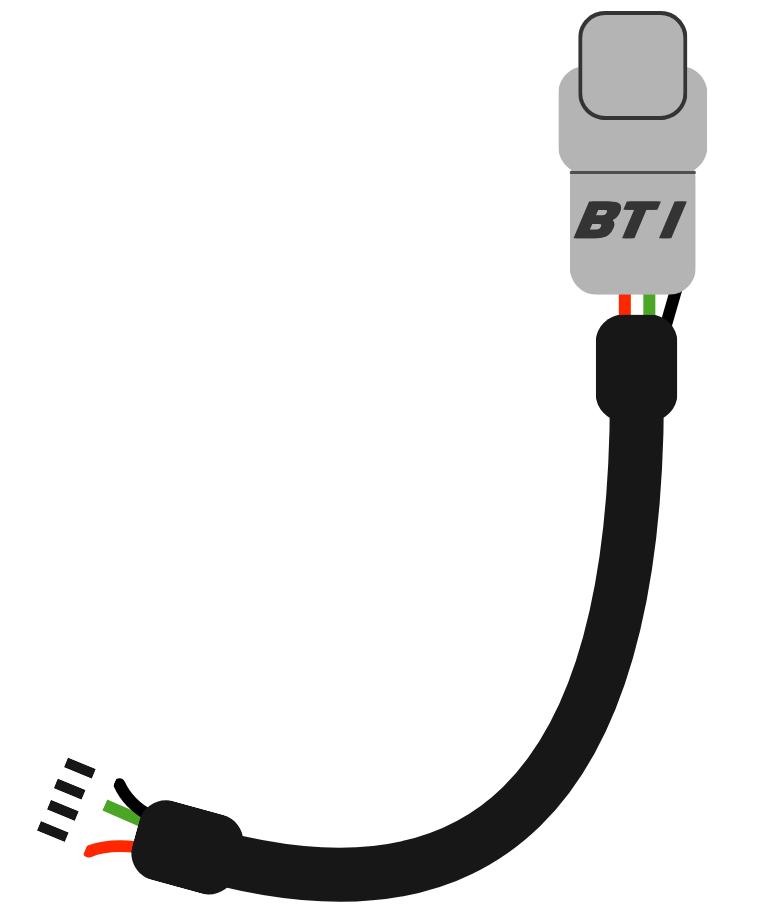
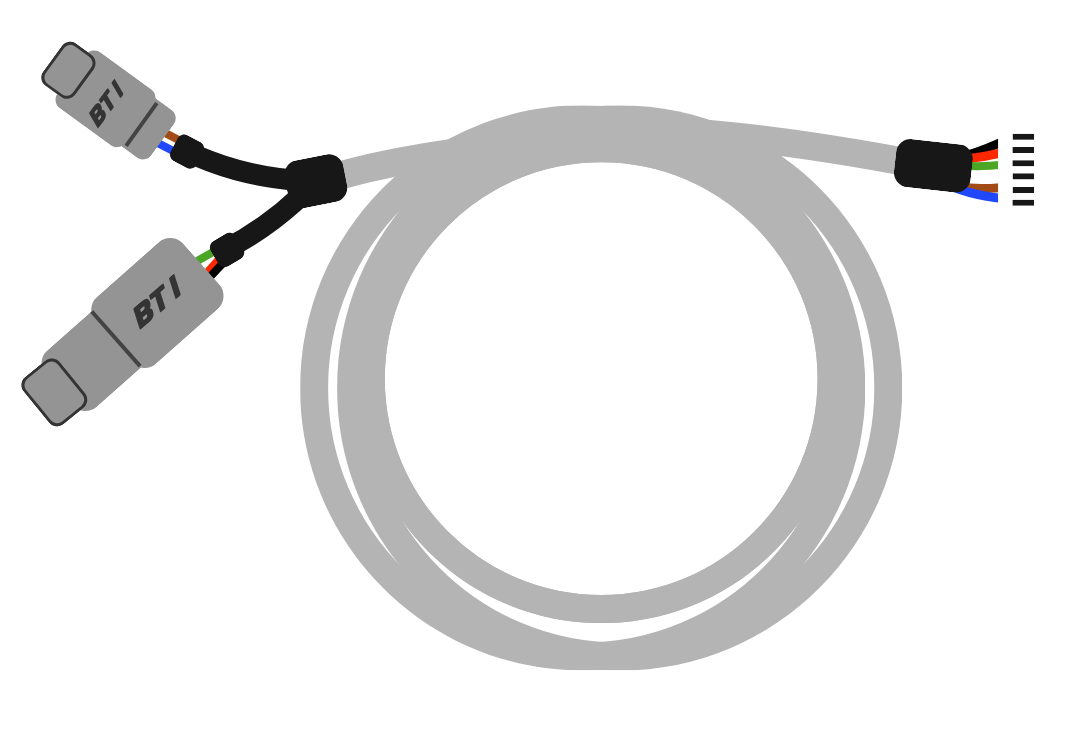
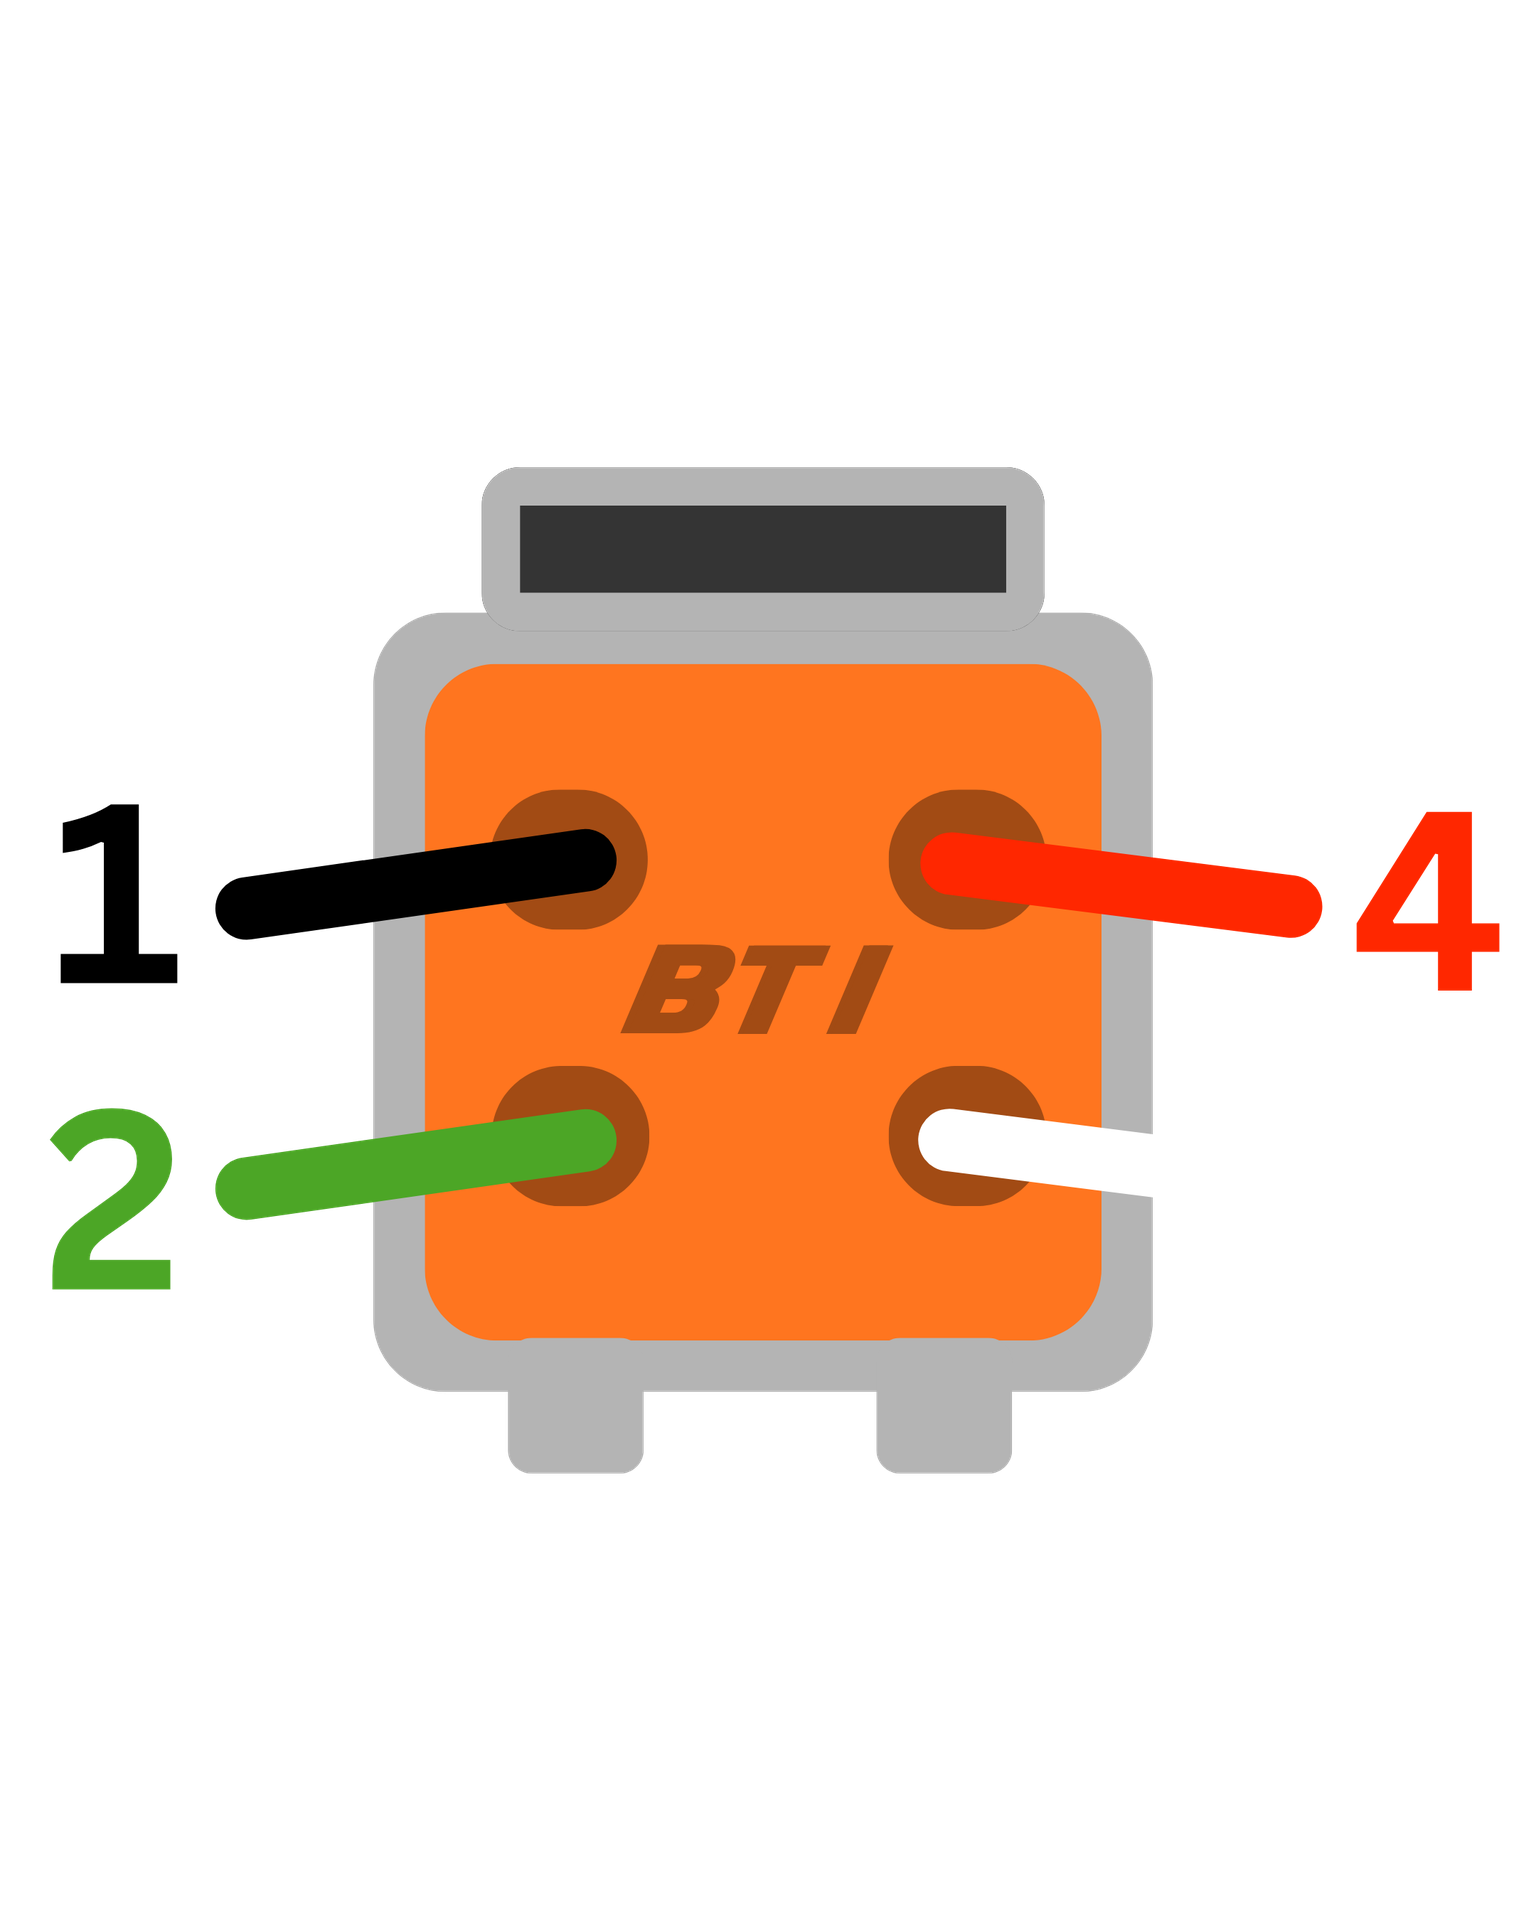
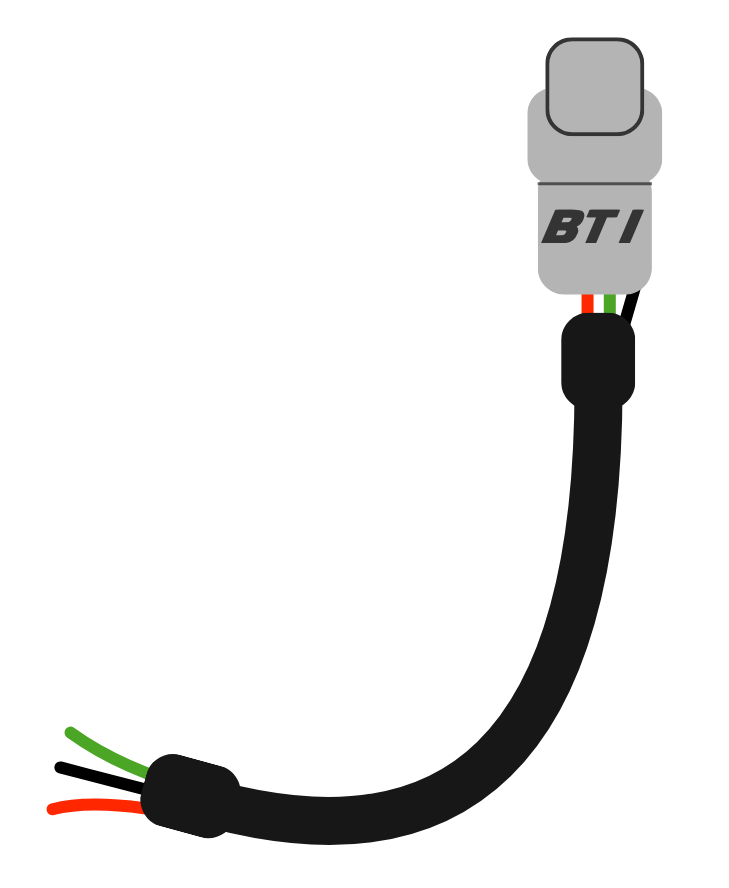
DTM Connector (Harness)
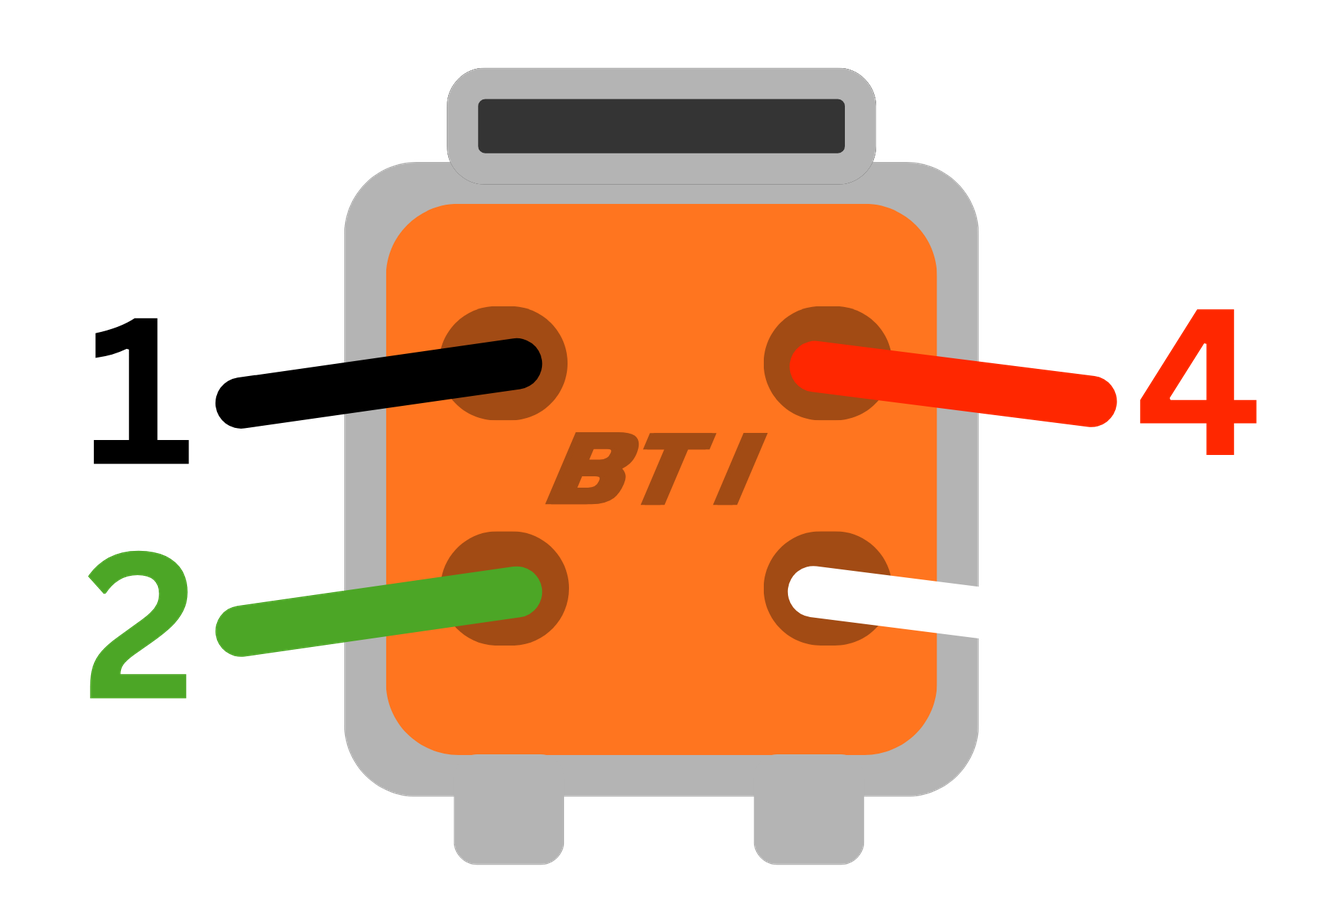
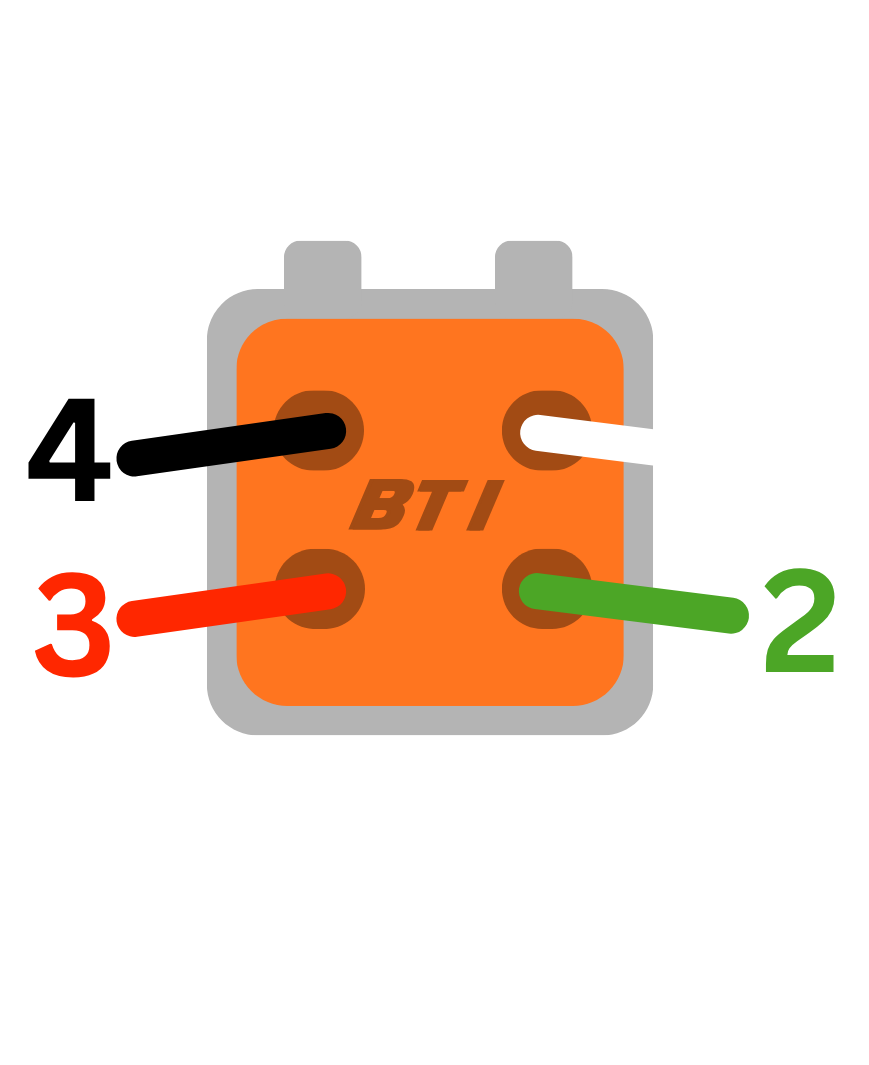
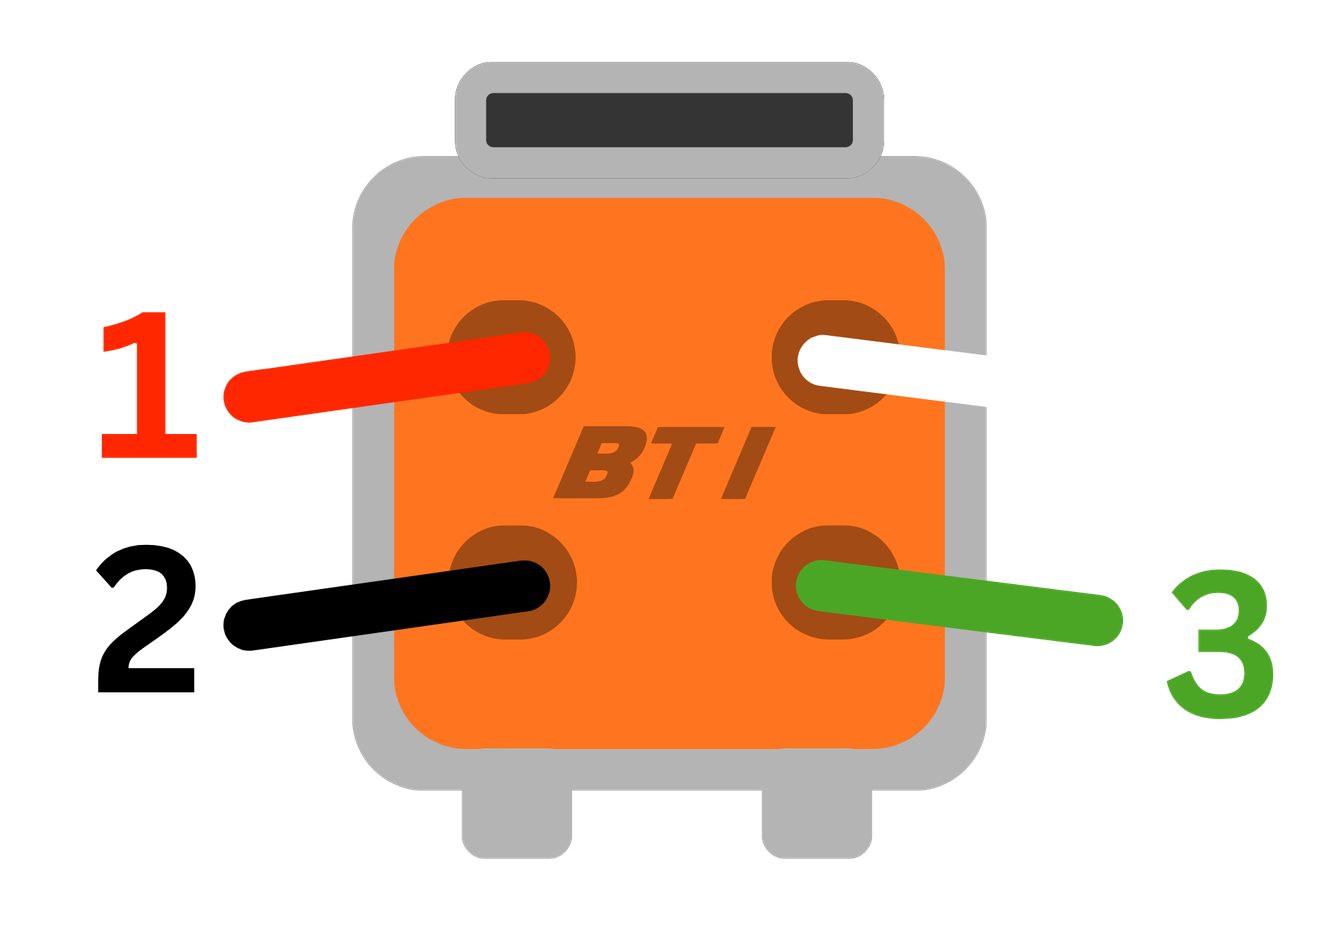
Standard Pinout
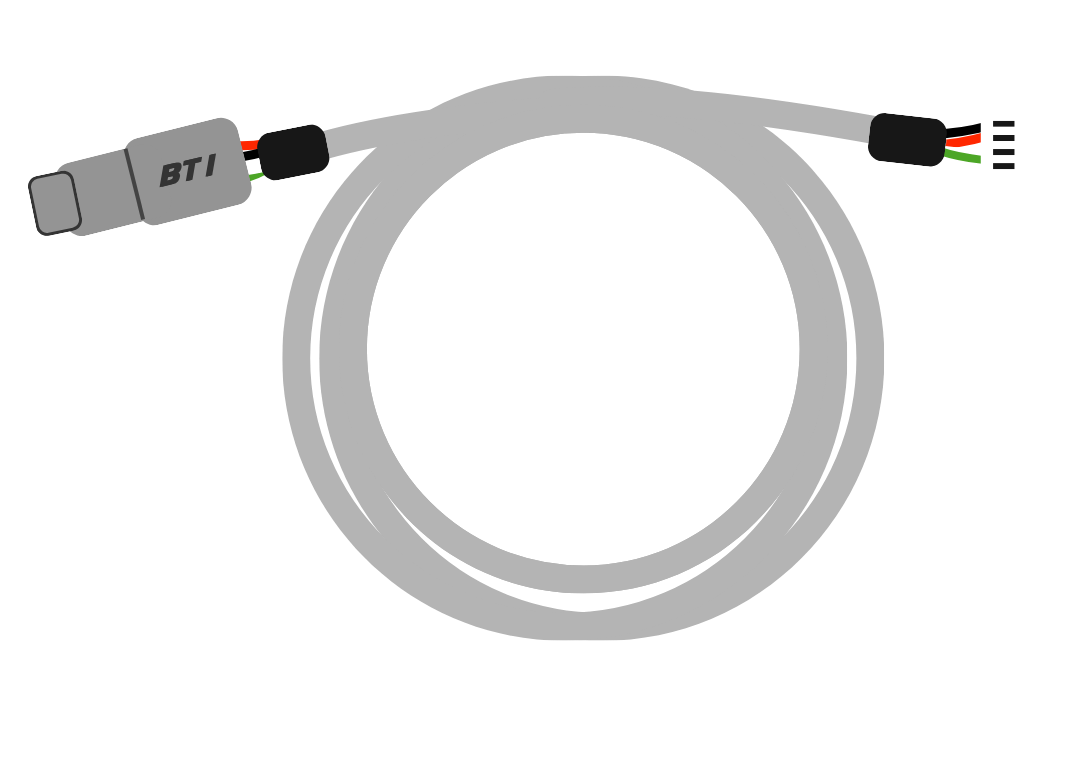
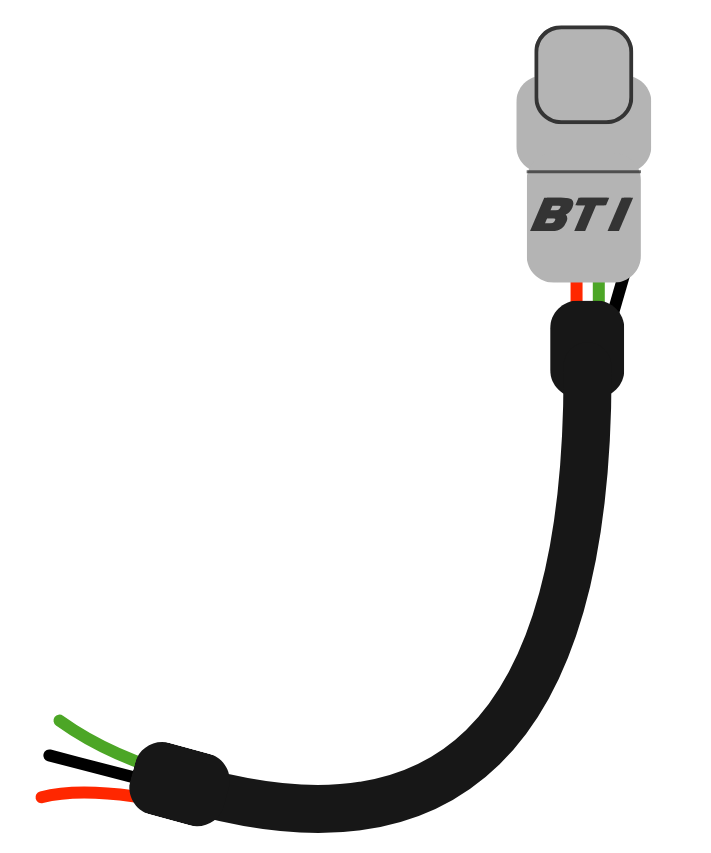
Round Gauge Pigtail
RX7 4 Pin Pigtail
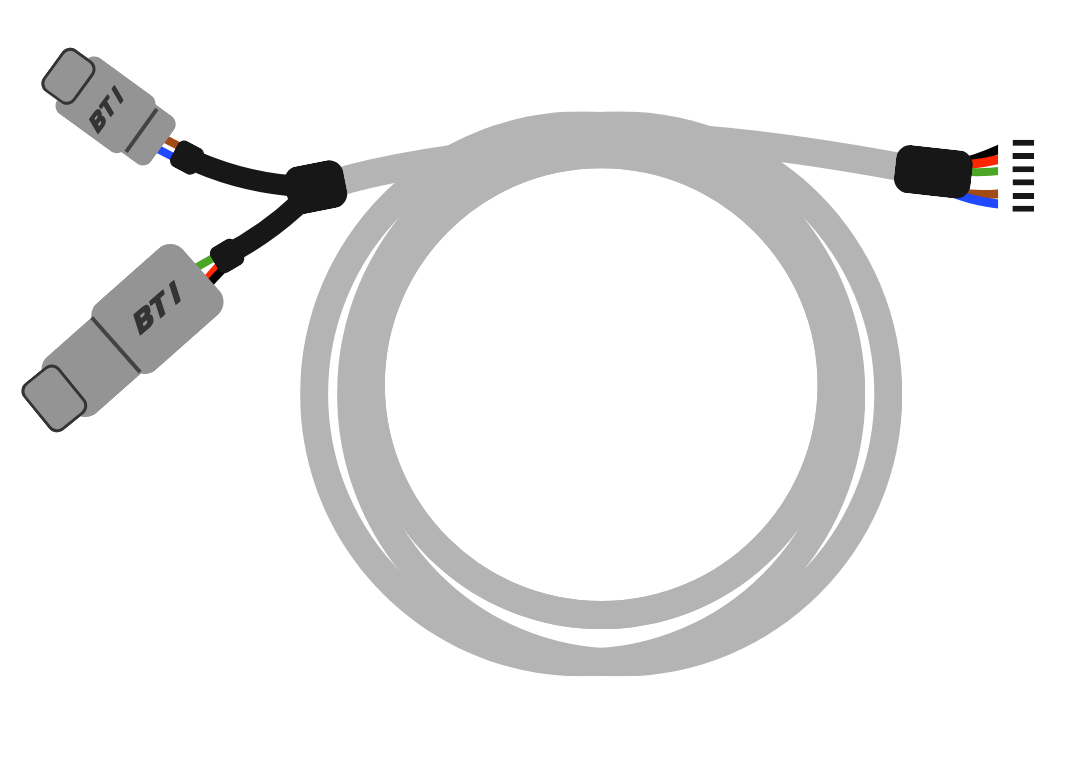
Touch Screen Pigtail
RX7 4 Pin Pigtail

Touch Screen Pigtail
2 Pin Pigtail
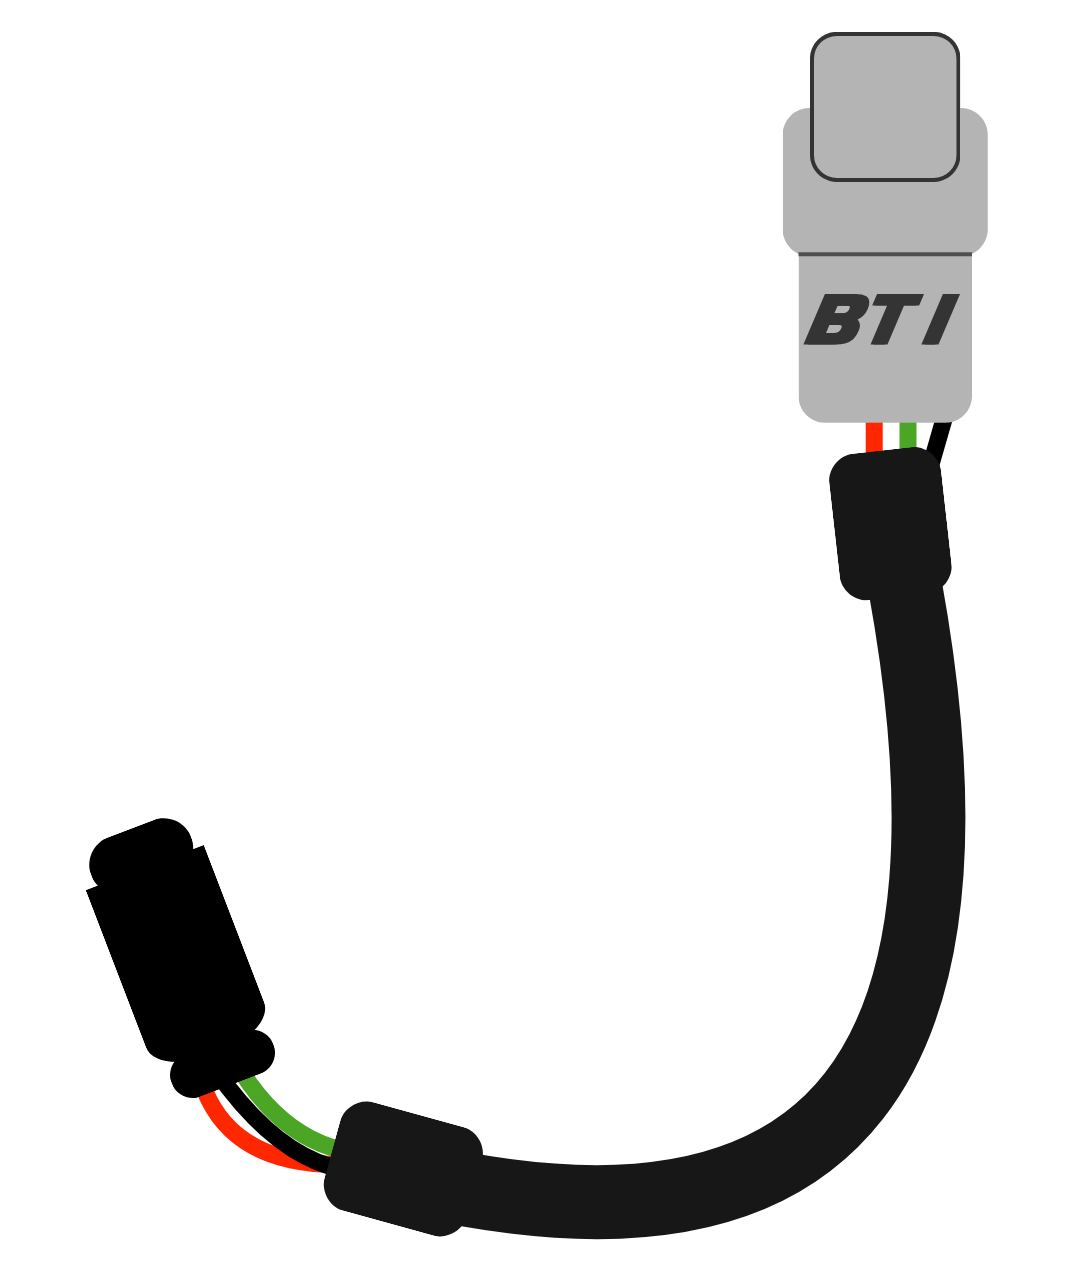
Round Gauge Harness
Standard 4 Pin
Touch Screen Harness
Standard 6 Pin
DTM Connector (Harness)
Standard Pinout
Round Gauge Pigtail
AEM NET Pigtail
Touch Screen Pigtail
AEM NET Pigtail
Round Gauge Harness
Standard 4 Pin
Touch Screen Harness
Standard 6 Pin
DTM Connector (Harness)
Standard Pinout
Round Gauge Pigtail
4 Pin Pigtail
Touch Screen Pigtail
4 Pin Pigtail
Round Gauge Harness
Standard 4 Pin
Touch Screen Harness
Standard 6 Pin
DTM Connector (Harness)
Standard Pinout
Round Gauge Pigtail
4 Pin Pigtail

Touch Screen Pigtail
4 Pin Pigtail
Touch Screen Pigtail
2 Pin Pigtail
Round Gauge Harness
Emtron/Motec 4 Pin
Touch Screen Harness
Emtron/Motec 6 Pin
DTM Connector (Harness)
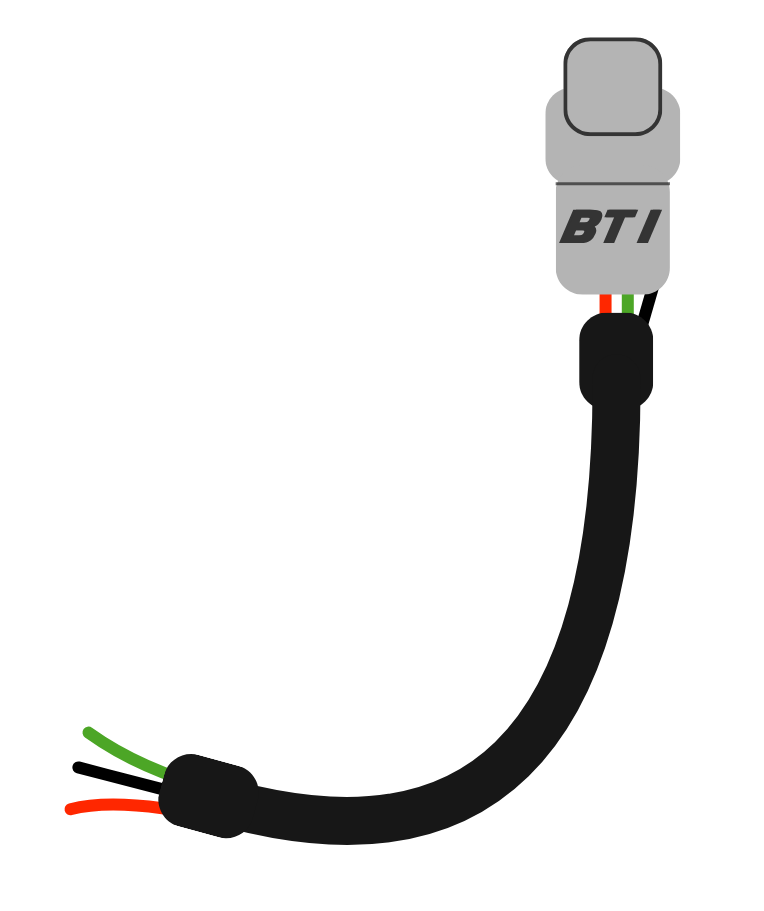
Alternative DTM Connector + Pinout
Round Gauge Harness
Haltech 4 Pin
Touch Screen Harness
Haltech 6 Pin
DTM Connector (Harness)
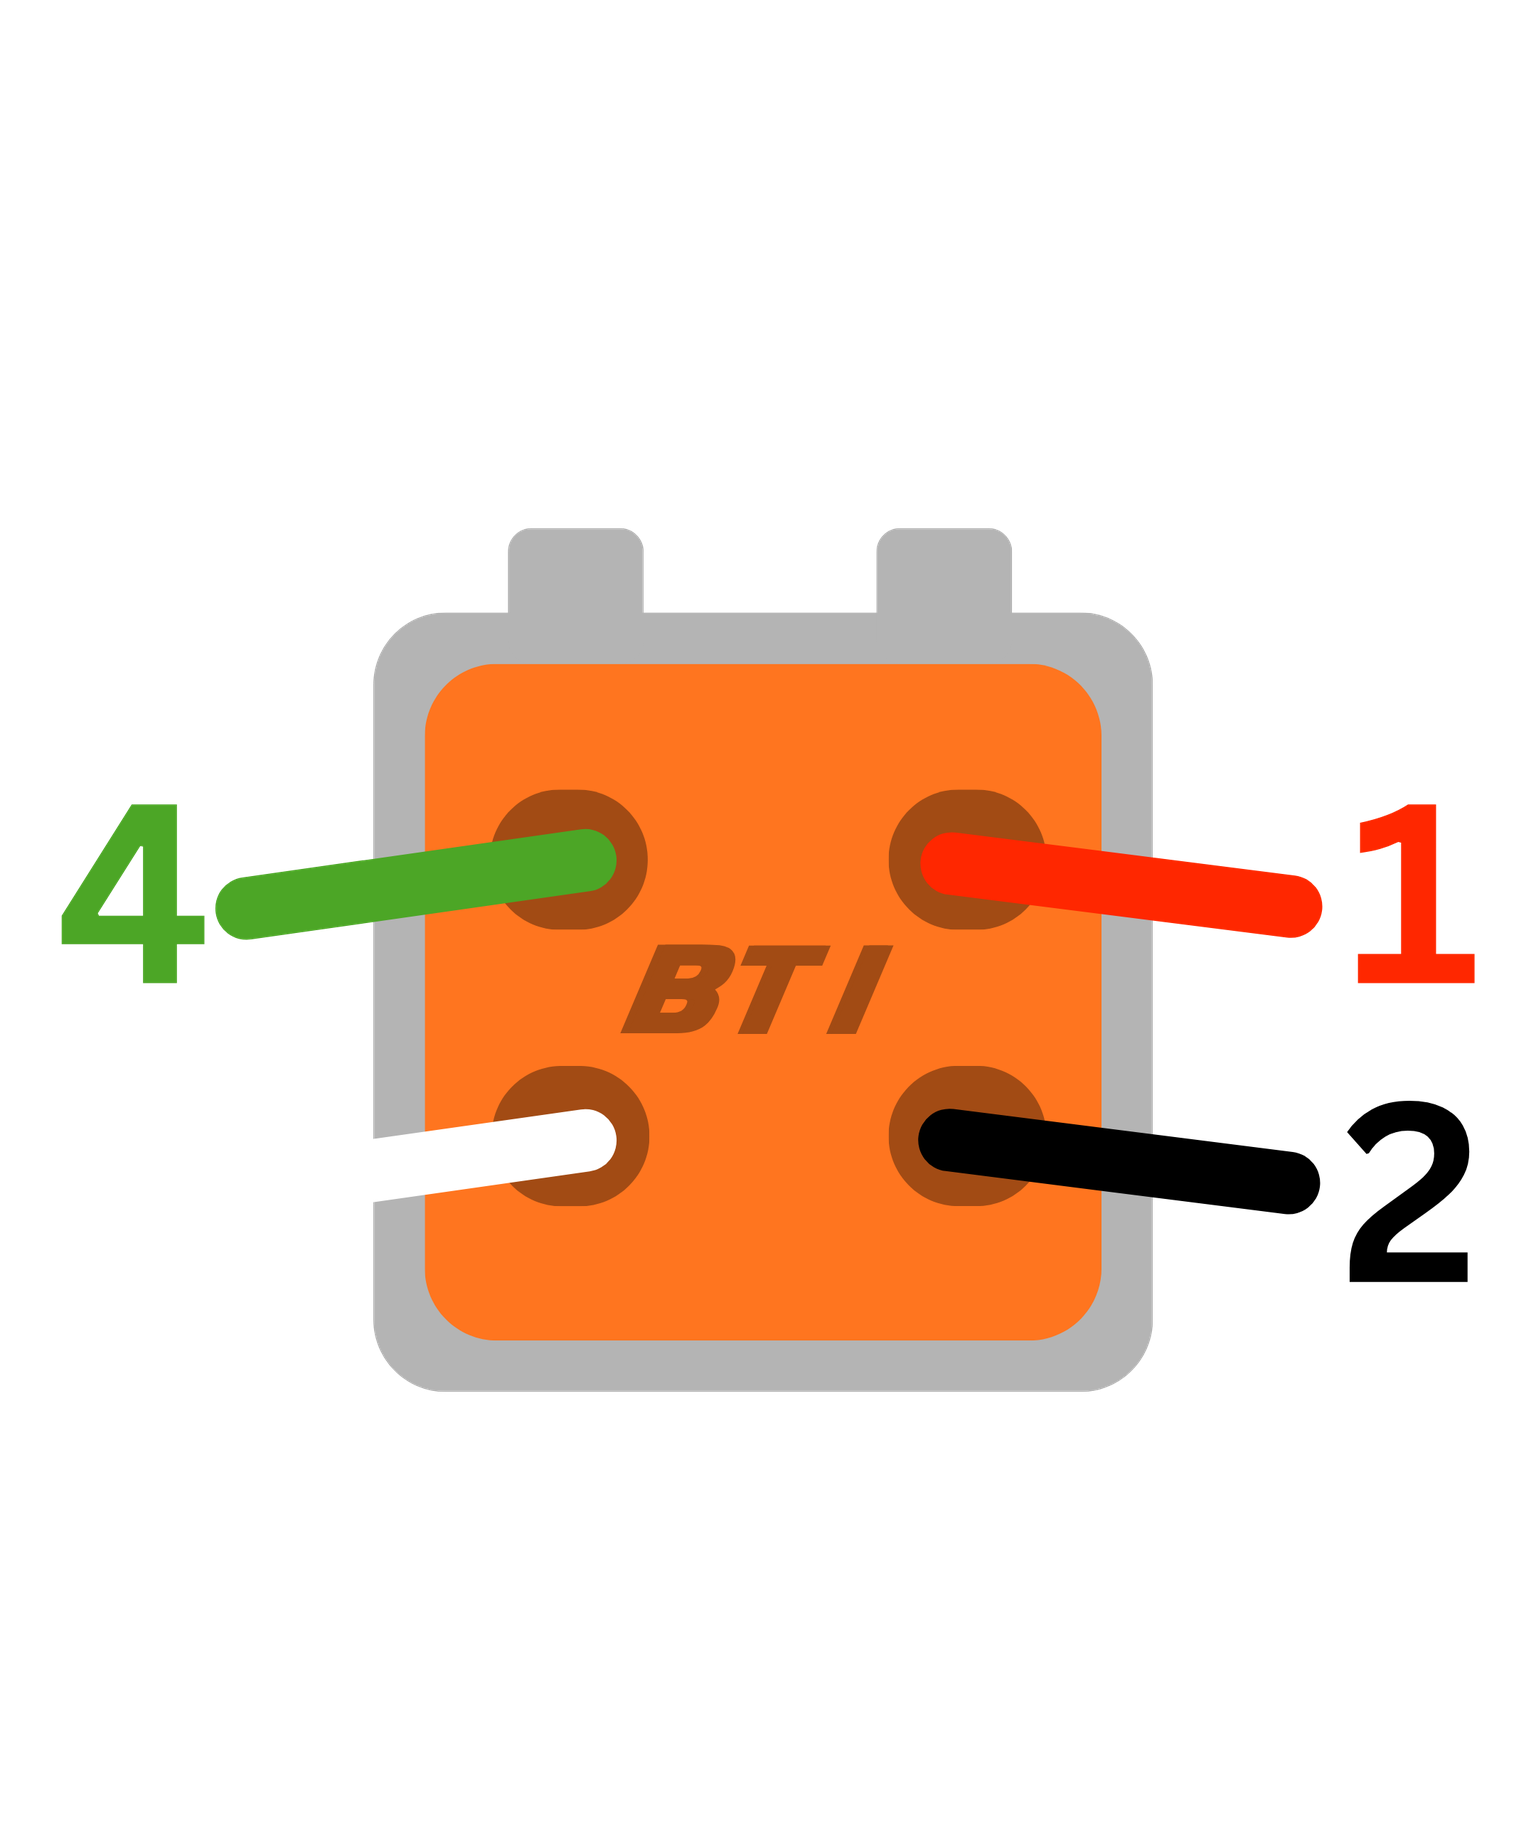
Haltech Pinout
Touch Screen Pigtail
2 Pin Pigtail
Round Gauge Harness
Standard 4 Pin
Touch Screen Harness
Standard 6 Pin
DTM Connector (Harness)
Standard Pinout
Round Gauge Pigtail
4 Pin Pigtail
Touch Screen Pigtail
4 Pin Pigtail
Touch Screen Pigtail
2 Pin Pigtail
Round Gauge Harness
Standard 4 Pin
Touch Screen Harness
Standard 6 Pin
DTM Connector (Harness)
Standard Pinout
Round Gauge Pigtail
RX7 4 Pin Pigtail
Round Gauge Pigtail
Pin-In Pigtail
Touch Screen Pigtail
Pin-In Pigtail
Round Gauge Pigtail
Round Amphenol Pigtail
Touch Screen Pigtail
Round Amphenol Pigtail
Round Gauge Harness
Standard 4 Pin
Touch Screen Harness
Standard 6 Pin
DTM Connector (Harness)
Standard Pinout
Round Gauge Pigtail
Link Drop-in Pigtail
Touch Screen Pigtail
Link Drop-In Pigtail
Round Gauge Harness
Link DTM 4 Pin Harness
Touch Screen Harness
Link DTM 6 Pin Harness
DTM Connector (Harness)
Alternative DTM Connector + Pinout
Round Gauge Harness
Standard 4 Pin
Touch Screen Harness
Standard 6 Pin
DTM Connector (Harness)
Standard Pinout

Round Gauge Pigtail
4 Pin Pigtail
Touch Screen Pigtail
4 Pin Pigtail

Round Gauge Harness
Emtron/Motec 4 Pin
Touch Screen Harness
Emtron/Motec 6 Pin
DTM Connector (Harness)
Alternative DTM Connector + Pinout
Round Gauge Harness
Standard 4 Pin
Touch Screen Harness
Standard 6 Pin
DTM Connector (Harness)
Standard Pinout
Round Gauge Pigtail
4 Pin Pigtail
Touch Screen Pigtail
4 Pin Pigtail
Keep Product Specific Wiring
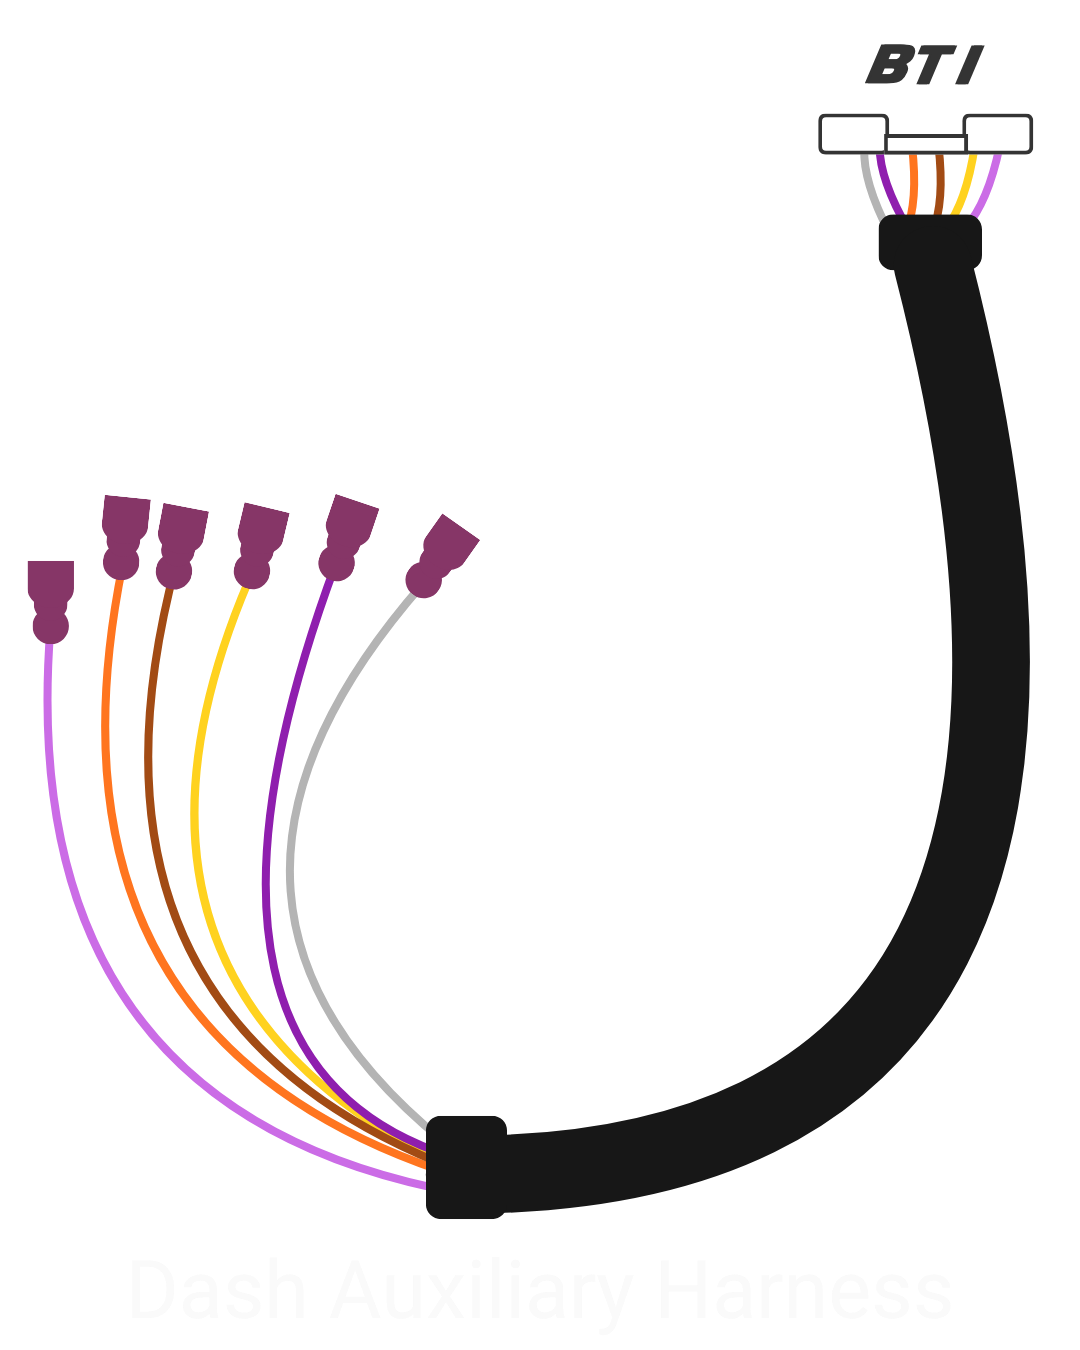
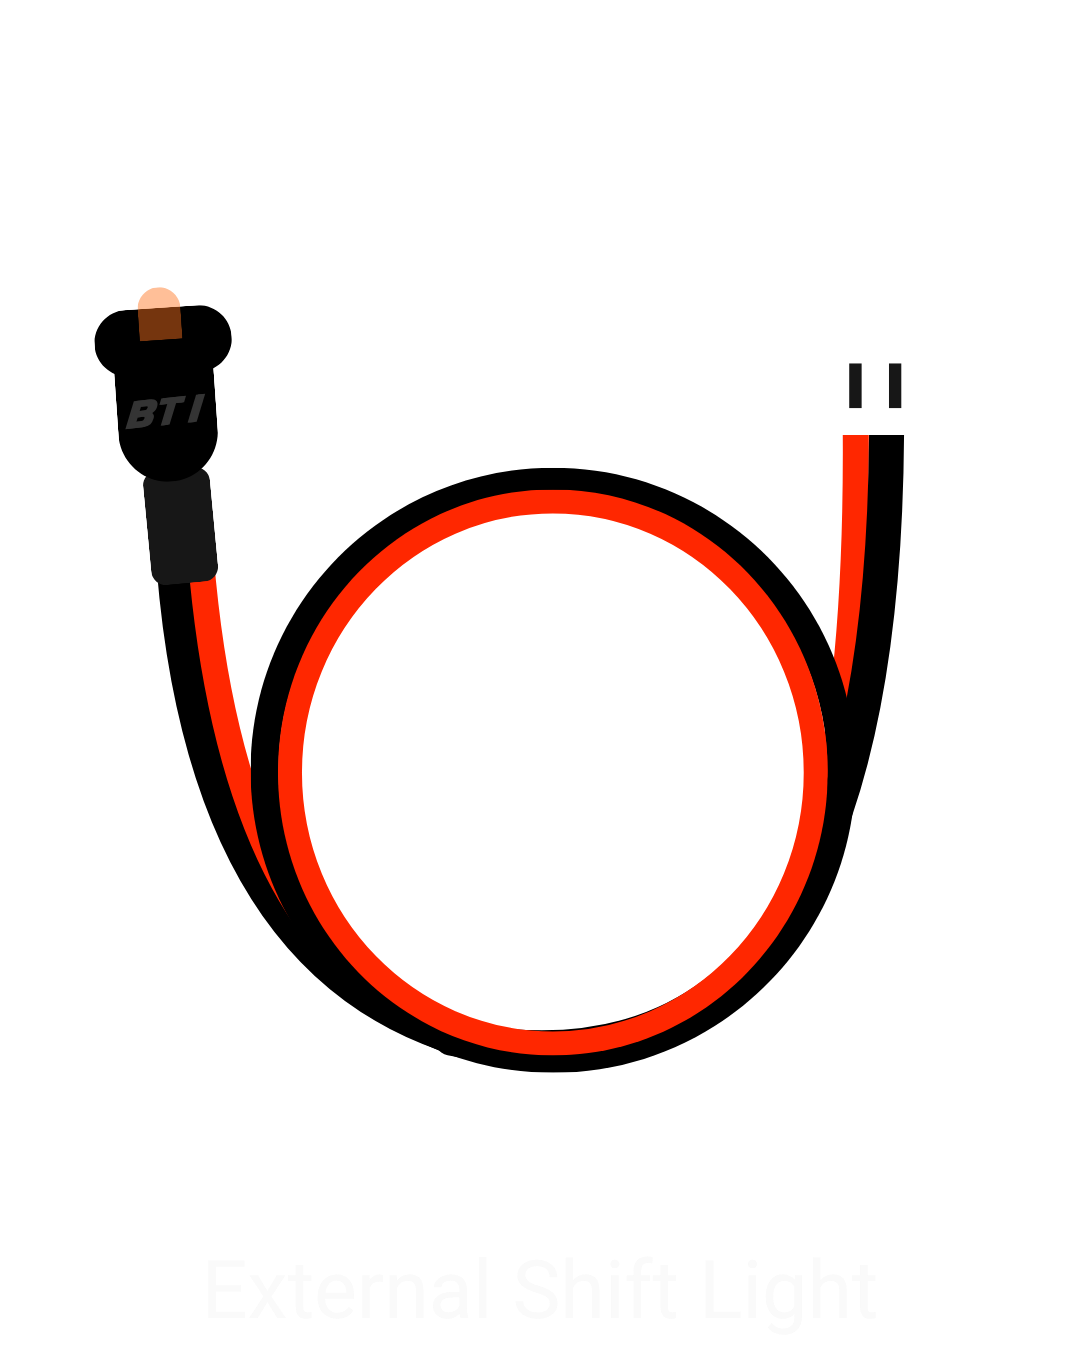
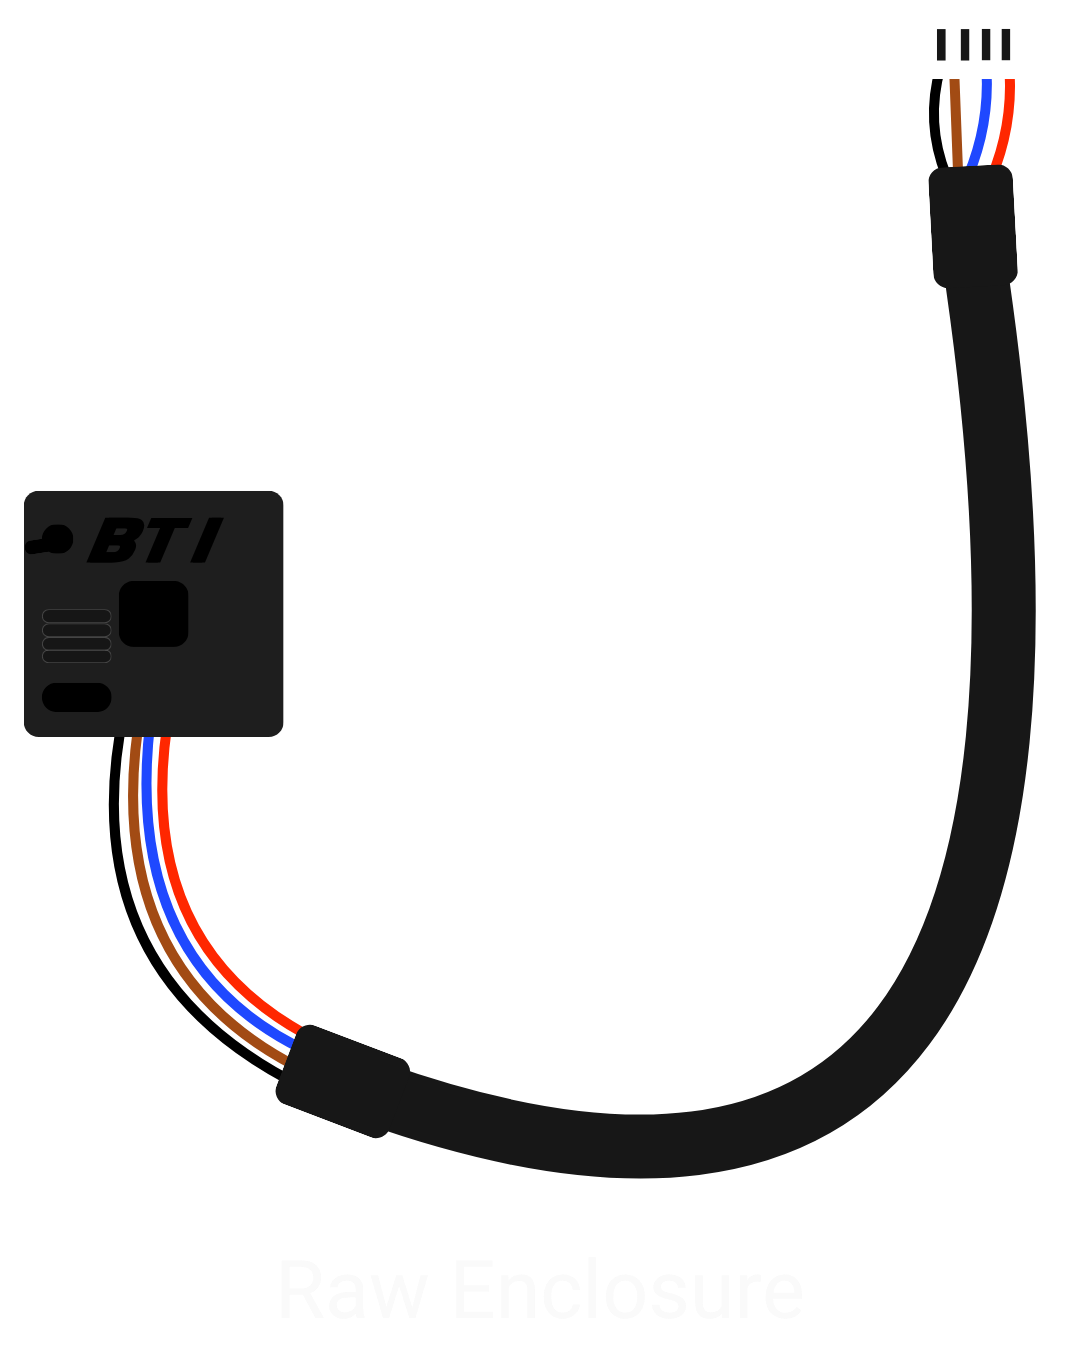
These wiring components should remain a part of your setup regardless of ECU
Round Gauge Harness
Standard 4 Pin
Touch Screen Harness
Standard 6 Pin
DTM Connector (Harness)
Standard Pinout
Round Gauge Pigtail
RX7 4 Pin Pigtail
Touch Screen Pigtail
RX7 4 Pin Pigtail
Touch Screen Pigtail
2 Pin Pigtail
Round Gauge Harness
Standard 4 Pin
Touch Screen Harness
Standard 6 Pin
DTM Connector (Harness)
Standard Pinout
Round Gauge Pigtail
AEM NET Pigtail
Touch Screen Pigtail
AEM NET Pigtail
Round Gauge Harness
Standard 4 Pin
Touch Screen Harness
Standard 6 Pin
DTM Connector (Harness)
Standard Pinout
Round Gauge Pigtail
4 Pin Pigtail
Touch Screen Pigtail
4 Pin Pigtail
Round Gauge Harness
Standard 4 Pin
Touch Screen Harness
Standard 6 Pin
DTM Connector (Harness)
Standard Pinout
Round Gauge Pigtail
4 Pin Pigtail
Touch Screen Pigtail
4 Pin Pigtail
Touch Screen Pigtail
2 Pin Pigtail
Round Gauge Harness
Emtron/Motec 4 Pin
Touch Screen Harness
Emtron/Motec 6 Pin
DTM Connector (Harness)
Alternative DTM Connector + Pinout
Round Gauge Harness
Haltech 4 Pin
Touch Screen Harness
Haltech 6 Pin
DTM Connector (Harness)
Haltech Pinout
Touch Screen Pigtail
2 Pin Pigtail
Round Gauge Harness
Standard 4 Pin
Touch Screen Harness
Standard 6 Pin
DTM Connector (Harness)
Standard Pinout
Round Gauge Pigtail
4 Pin Pigtail
Touch Screen Pigtail
4 Pin Pigtail
Touch Screen Pigtail
2 Pin Pigtail
Round Gauge Harness
Standard 4 Pin
Touch Screen Harness
Standard 6 Pin
DTM Connector (Harness)
Standard Pinout
Round Gauge Pigtail
RX7 4 Pin Pigtail
Round Gauge Pigtail
Pin-In Pigtail
Touch Screen Pigtail
Pin-In Pigtail
Round Gauge Pigtail
Round Amphenol Pigtail
Touch Screen Pigtail
Round Amphenol Pigtail
Round Gauge Harness
Standard 4 Pin
Touch Screen Harness
Standard 6 Pin
DTM Connector (Harness)
Standard Pinout
Round Gauge Pigtail
Link Drop-in Pigtail
Touch Screen Pigtail
Link Drop-In Pigtail
Round Gauge Harness
Link DTM 4 Pin Harness
Touch Screen Harness
Link DTM 6 Pin Harness
DTM Connector (Harness)
Alternative DTM Connector + Pinout
Round Gauge Harness
Standard 4 Pin
Touch Screen Harness
Standard 6 Pin
DTM Connector (Harness)
Standard Pinout
Round Gauge Pigtail
4 Pin Pigtail
Touch Screen Pigtail
4 Pin Pigtail
Round Gauge Harness
Emtron/Motec M1 Harness
Touch Screen Harness
Emtron/Motec M1 Harness
DTM Connector (Harness)
Alternative DTM Connector + Pinout
Round Gauge Harness
Standard 4 Pin
Touch Screen Harness
Standard 6 Pin
DTM Connector (Harness)
Standard Pinout
Round Gauge Pigtail
4 Pin Pigtail
Touch Screen Pigtail
4 Pin Pigtail